
Channel mapping: the screen
A channel writes your items into the file its destination expects. The mapping says which field of your items goes into which element of that file. This is the step where you check it, and change it when the destination needs something else.
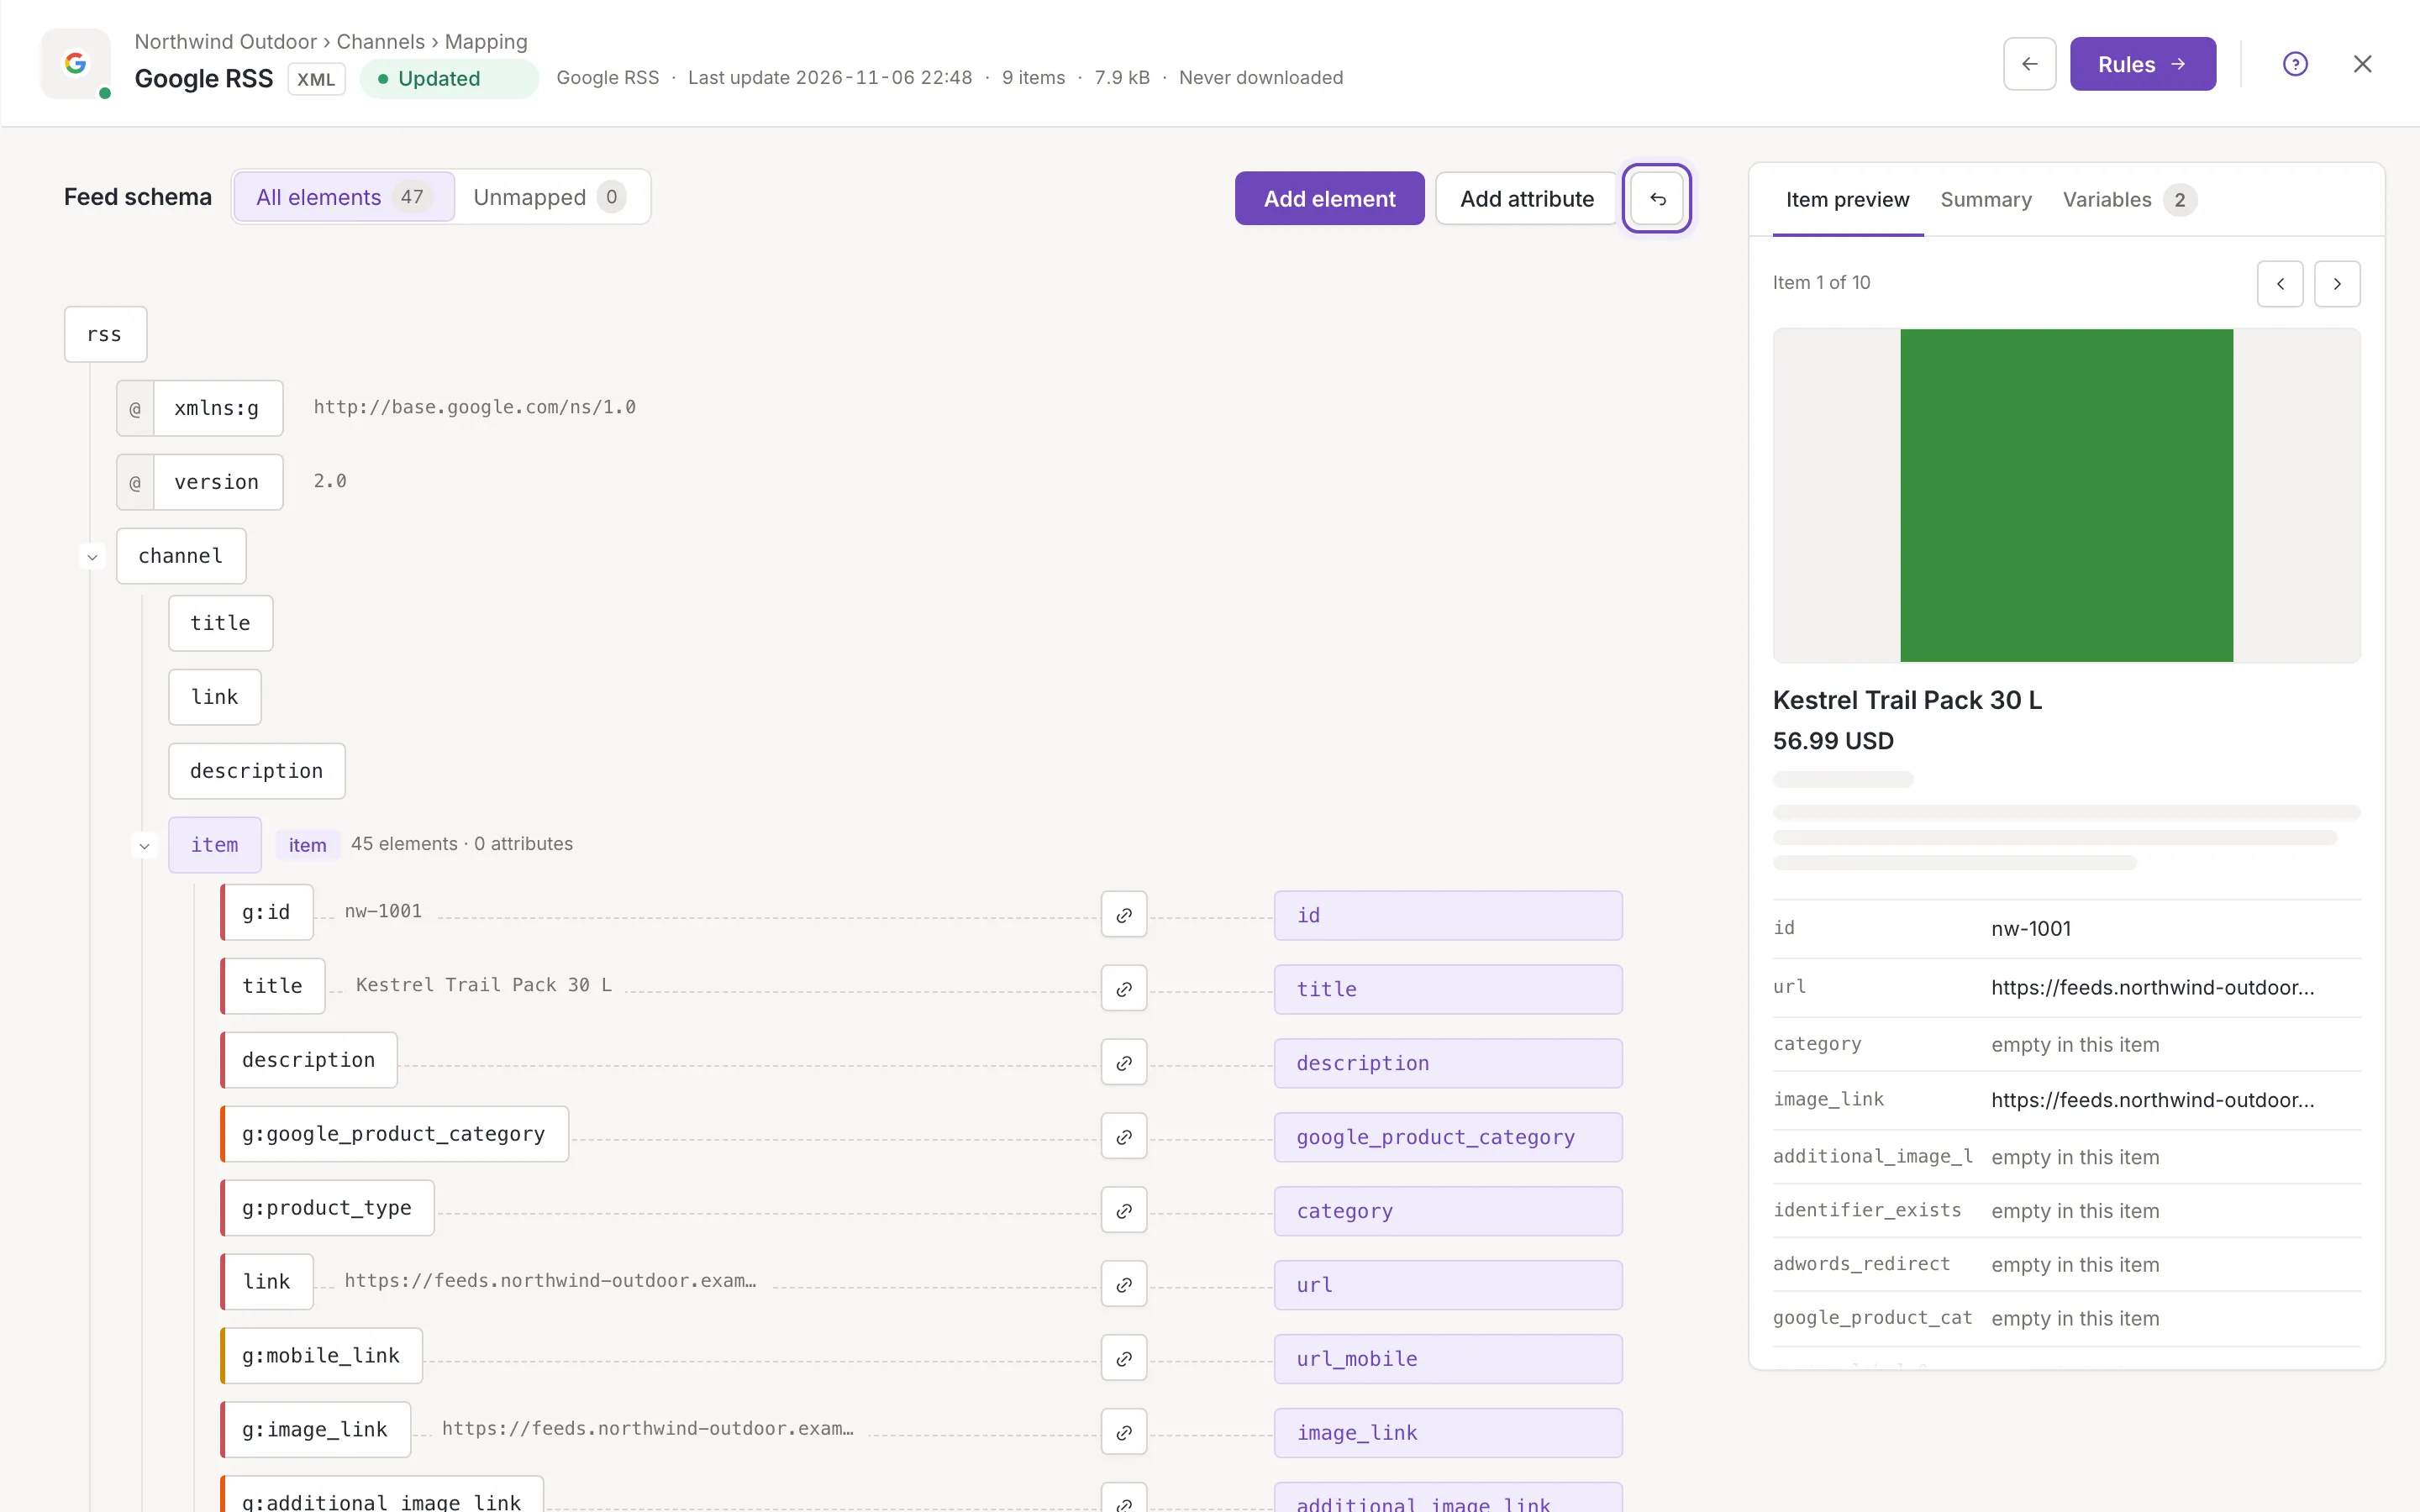
Open the channel mapping
Section titled “Open the channel mapping”Open a channel and go to its Mapping step: the steps are in the head of the channel panel, see Channel settings. The mapping fills the whole window. Its back arrow returns to Settings and its next button leads to Rules, which you can read about in How rules work.
A new channel starts from the default schema of its format. You open the mapping to fill an element that is empty, to map a field of your own, or to add an element the destination asks for. You can open it while the channel or the inkspace is updating. For the same screen of a source, see Source mapping.
The feed schema
Section titled “The feed schema”On the left, Feed schema is the structure of the file in the format of the channel. How to read the rows, the colors and the counters is in The mapping tree. The filter above the tree switches between All elements and Unmapped, each with its count.
On the right is the panel with Item preview, Summary and Variables; see The channel’s item preview. When you change something, the savebar appears under the head of the panel: Save, undo and leave. A channel has no Combine data card and no automatic choice of a mapping: the format of the channel brings its own schema.
Above the tree are Add element, Add attribute and the reset button (see below). Owners and collaborators see them; the buttons on the rows are described in Add, move and remove elements, and the settings of a row in Channel element settings.
The preview reads the first ten items of your inkspace, so “Item 1 of 10” in it can differ from the item count in the head of the panel.
Map an element from an item field
Section titled “Map an element from an item field”Each element of the feed has a map cell, as in a source: it shows the field that fills the element, or Choose a field… when it has none. Click the cell to choose a field (see Map an element to a field). The difference from a source is where the fields come from:
- the fields of Feedink that your sources fill, in their groups,
- the fields of the item itself, such as its Feedink id and the currency of the channel (Fields filled from the item),
- the custom variables of your sources and of the channel (Custom variables).
The list also offers New custom variable to make a variable for the channel on the spot. It says Empty until a rule sets it.
The same field can fill more than one element. To empty a cell, use its button (Remove mapping). The value shown next to each element is that of the first item of your inkspace, and the preview on the right follows each choice.
Reset the schema to default
Section titled “Reset the schema to default”The icon button next to Add attribute is Reset schema to default. It asks Reset the schema? first:
The mapping goes back to the default schema of this channel type; your elements and mappings are replaced. Nothing is saved until you click Save.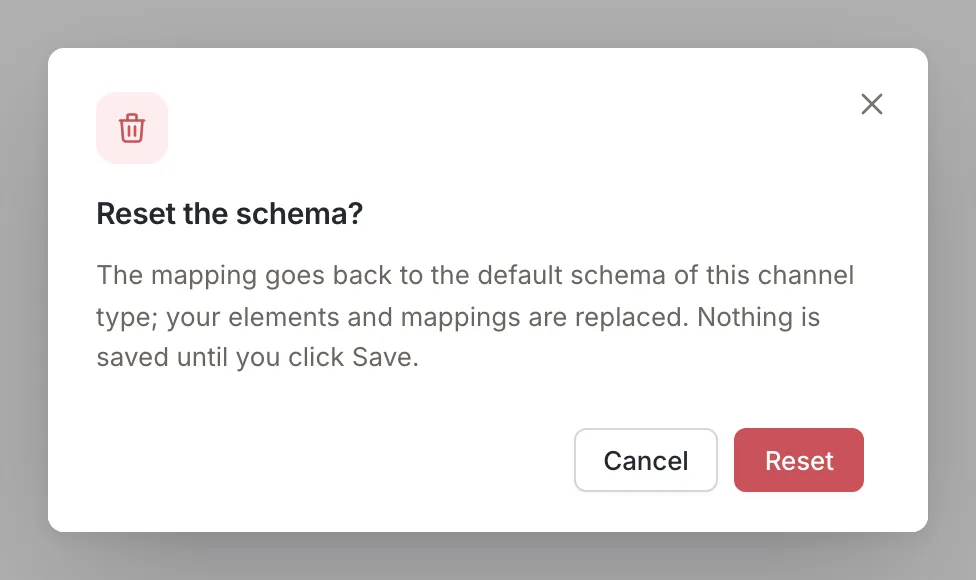
Reset puts back the default schema of the channel’s format, and every element you added or changed, with its mapping, is replaced; Cancel changes nothing. The page is only changed on the screen: use the savebar’s Save to keep it, or Undo to go back. When the format has no default schema to put back, the tree is emptied and an alert says
Add at least one element to the schema.Read-only access
Section titled “Read-only access”A viewer of the inkspace can open the channel mapping and read it, with the preview, and does not see the buttons above the tree. A viewer has no Save, Discard, Undo or Redo: when something changes on the screen, the savebar shows Unsaved changes and nothing more, so changes to the mapping are not kept. Owners and collaborators save with Save, and a toast says Channel mapping saved.