
Add an inkspace
An inkspace holds the sources, items and channels of one e-store. Create one for each store you run.
- Open your inkspaces and click New inkspace. The New inkspace panel opens over the list.
- Check the Name and, if needed, change it.
- Check the Timezone.
- Click Create inkspace.
Feedink says Inkspace created. and opens the new inkspace’s dashboard. The new inkspace joins the list at once.
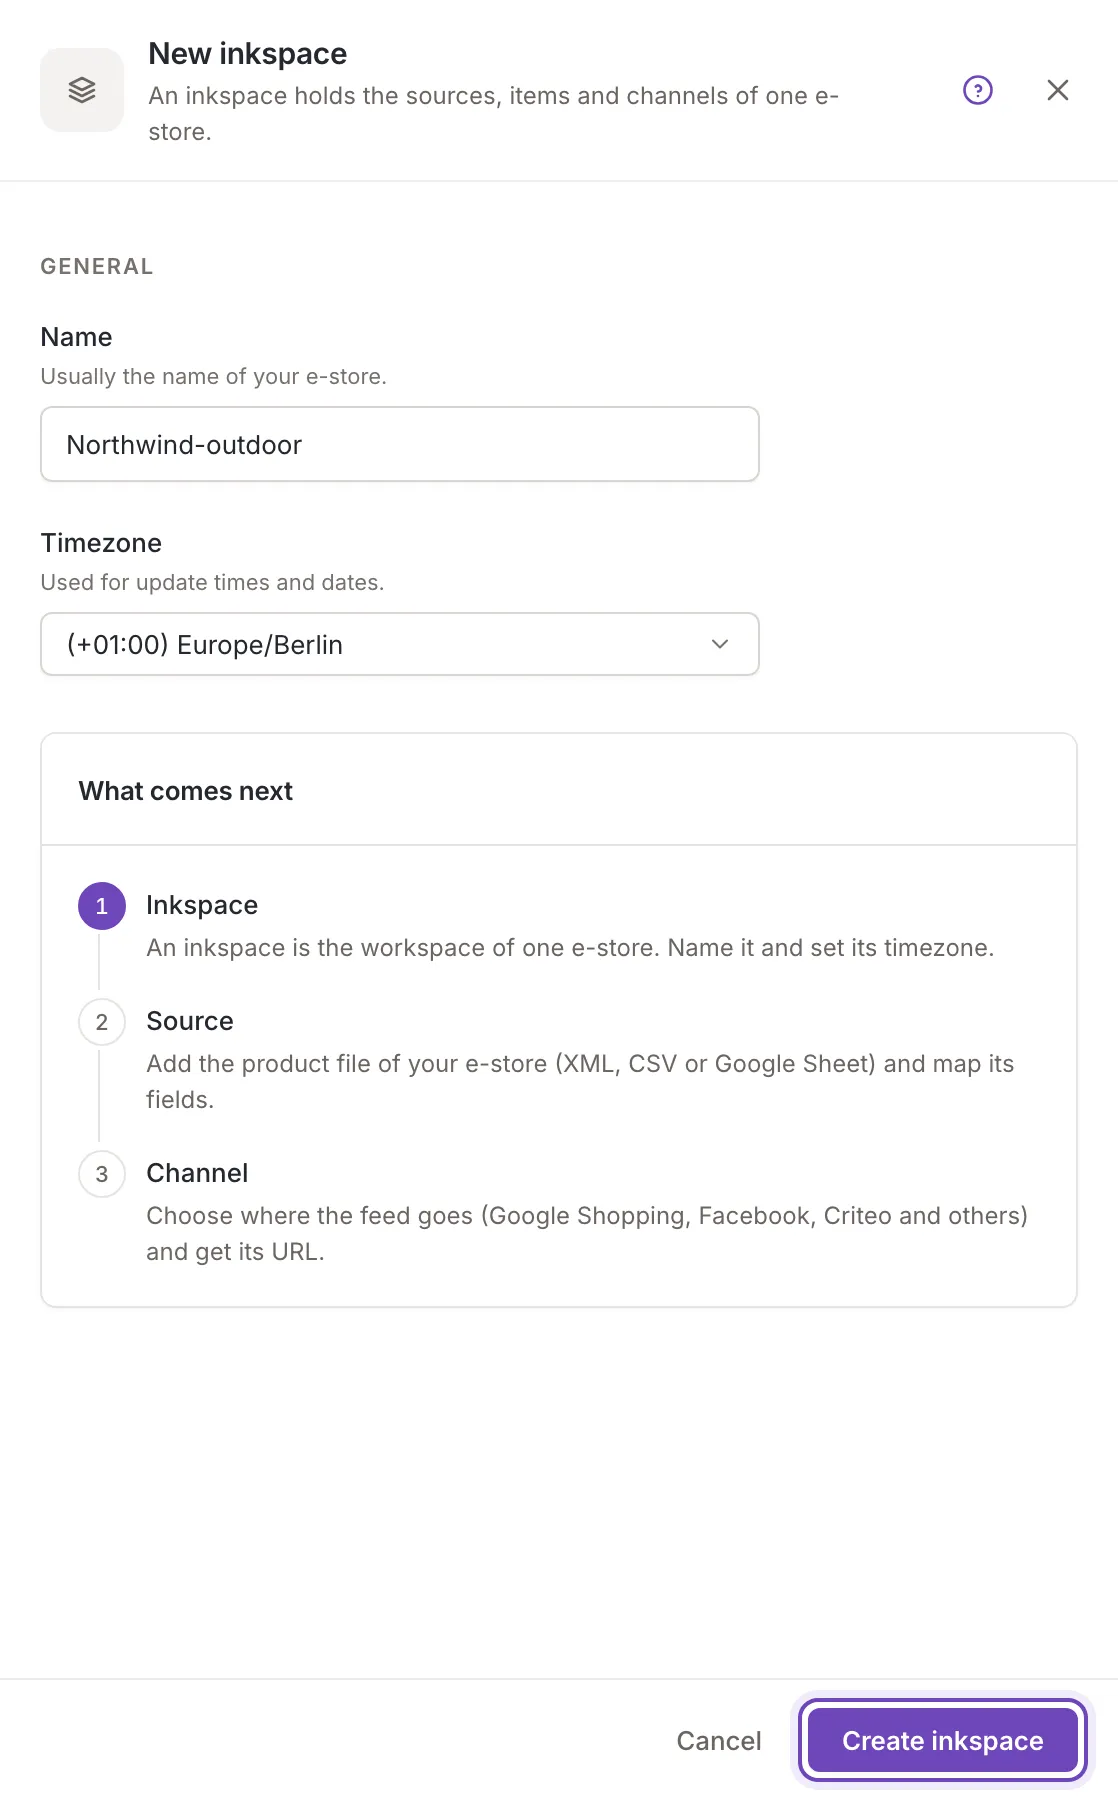
Name and timezone
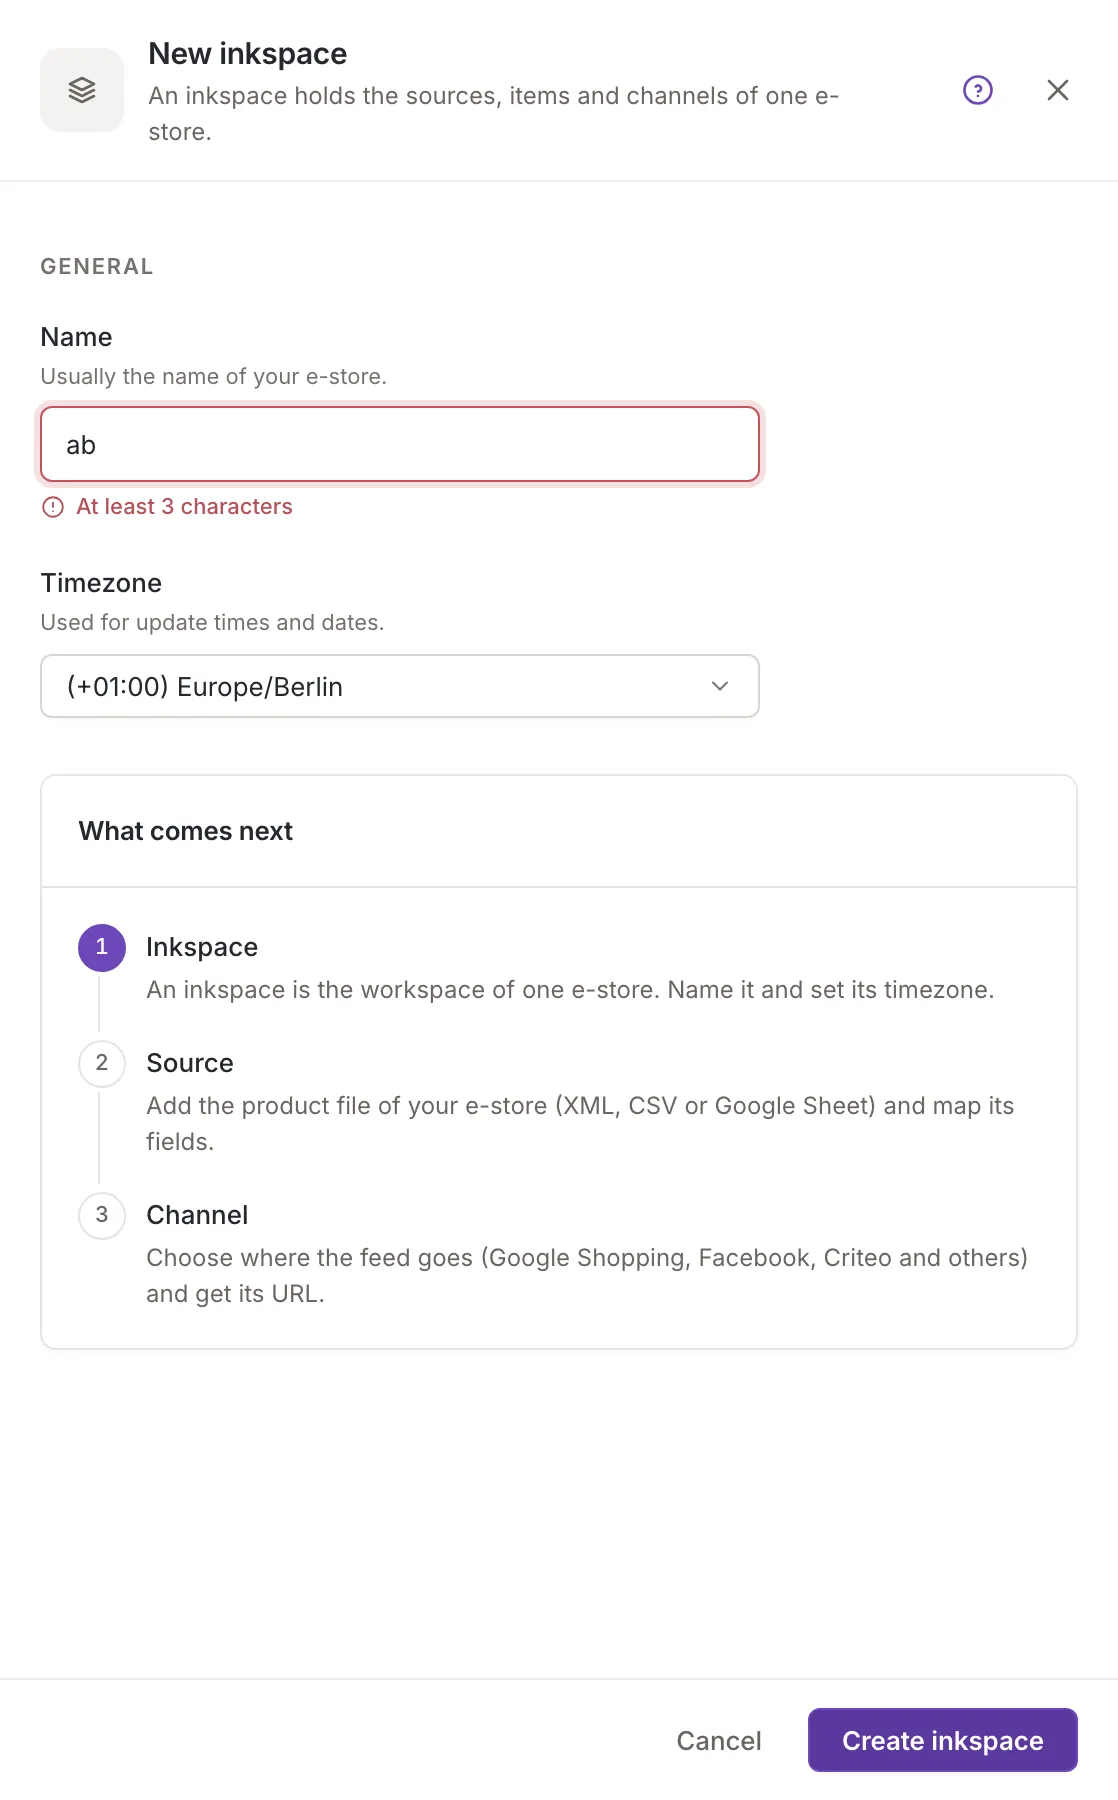
Section titled “Name and timezone”- Name. Usually the name of your e-store. The field starts with a suggestion: the company named in your e-mail address (for a business address), or your first name followed by “’s inkspace”, or “My inkspace” if Feedink has no first name. If you already have an inkspace with that name, a number follows it. The name needs at least 3 characters. An empty name shows Required, a name of one or two characters shows a message such as “At least 3 characters”; the field is focused and nothing is created. A name over 50 characters is refused with a message after you click Create inkspace. The name is kept as you type it.
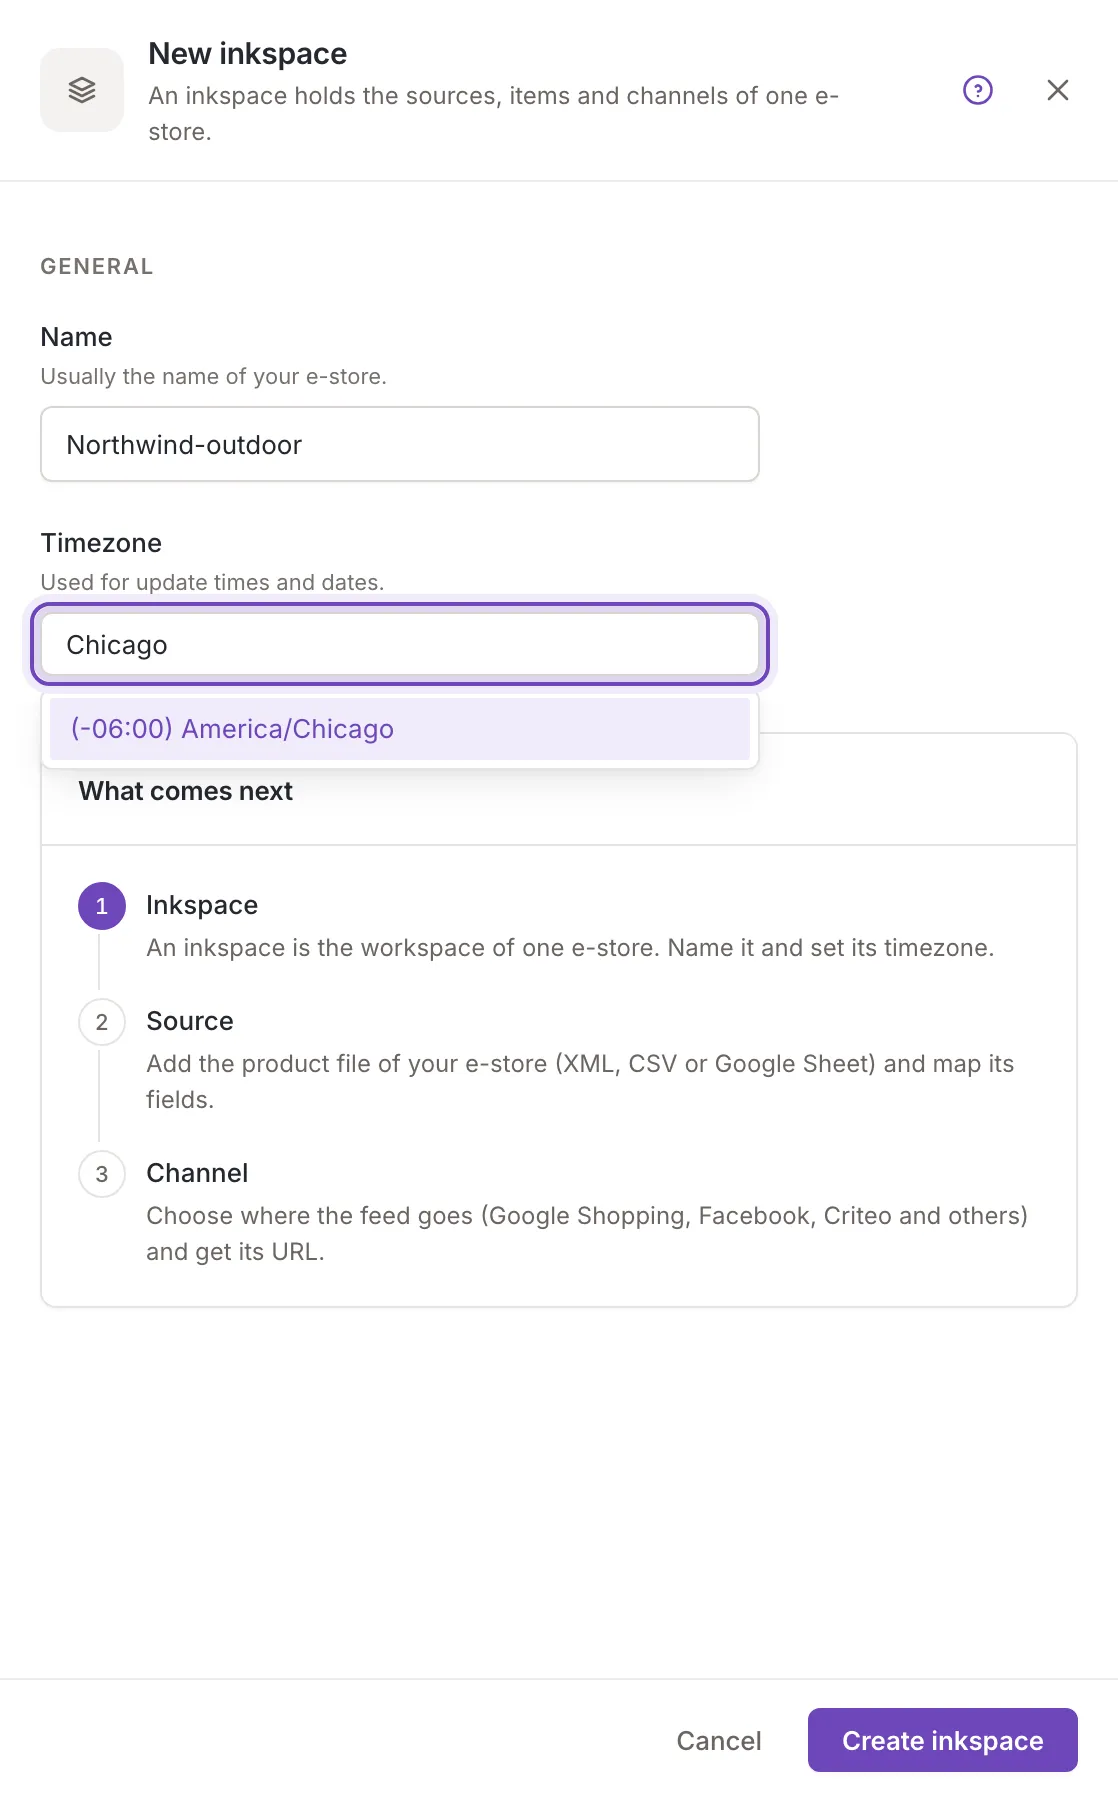
- Timezone. Starts on your browser’s timezone. Times of day in the inkspace, such as the update schedule, are in this timezone. Click the field and type to search by city or by offset. You can change both later in Inkspace settings.
Cancel, the × and the Escape key close the panel and return to the list. Nothing is created and nothing asks you to confirm.
After you create it
Section titled “After you create it”What comes next in the panel shows the three steps of a new inkspace: the inkspace (this step), a source and a channel. A new inkspace has no items yet. Add the product file of your e-store in Add a source, then choose where the feed goes, for example Google Shopping, Facebook or Criteo, in Add a channel. Mapping the source’s fields and rules come between the two.